1Onboarding checklist (from settings to first bulk run)
Work through this list once, top to bottom. After step 12 your first optimised texts are live in Shopify; budget roughly an hour, excluding the bulk run itself.
- Create your account and connect your shop
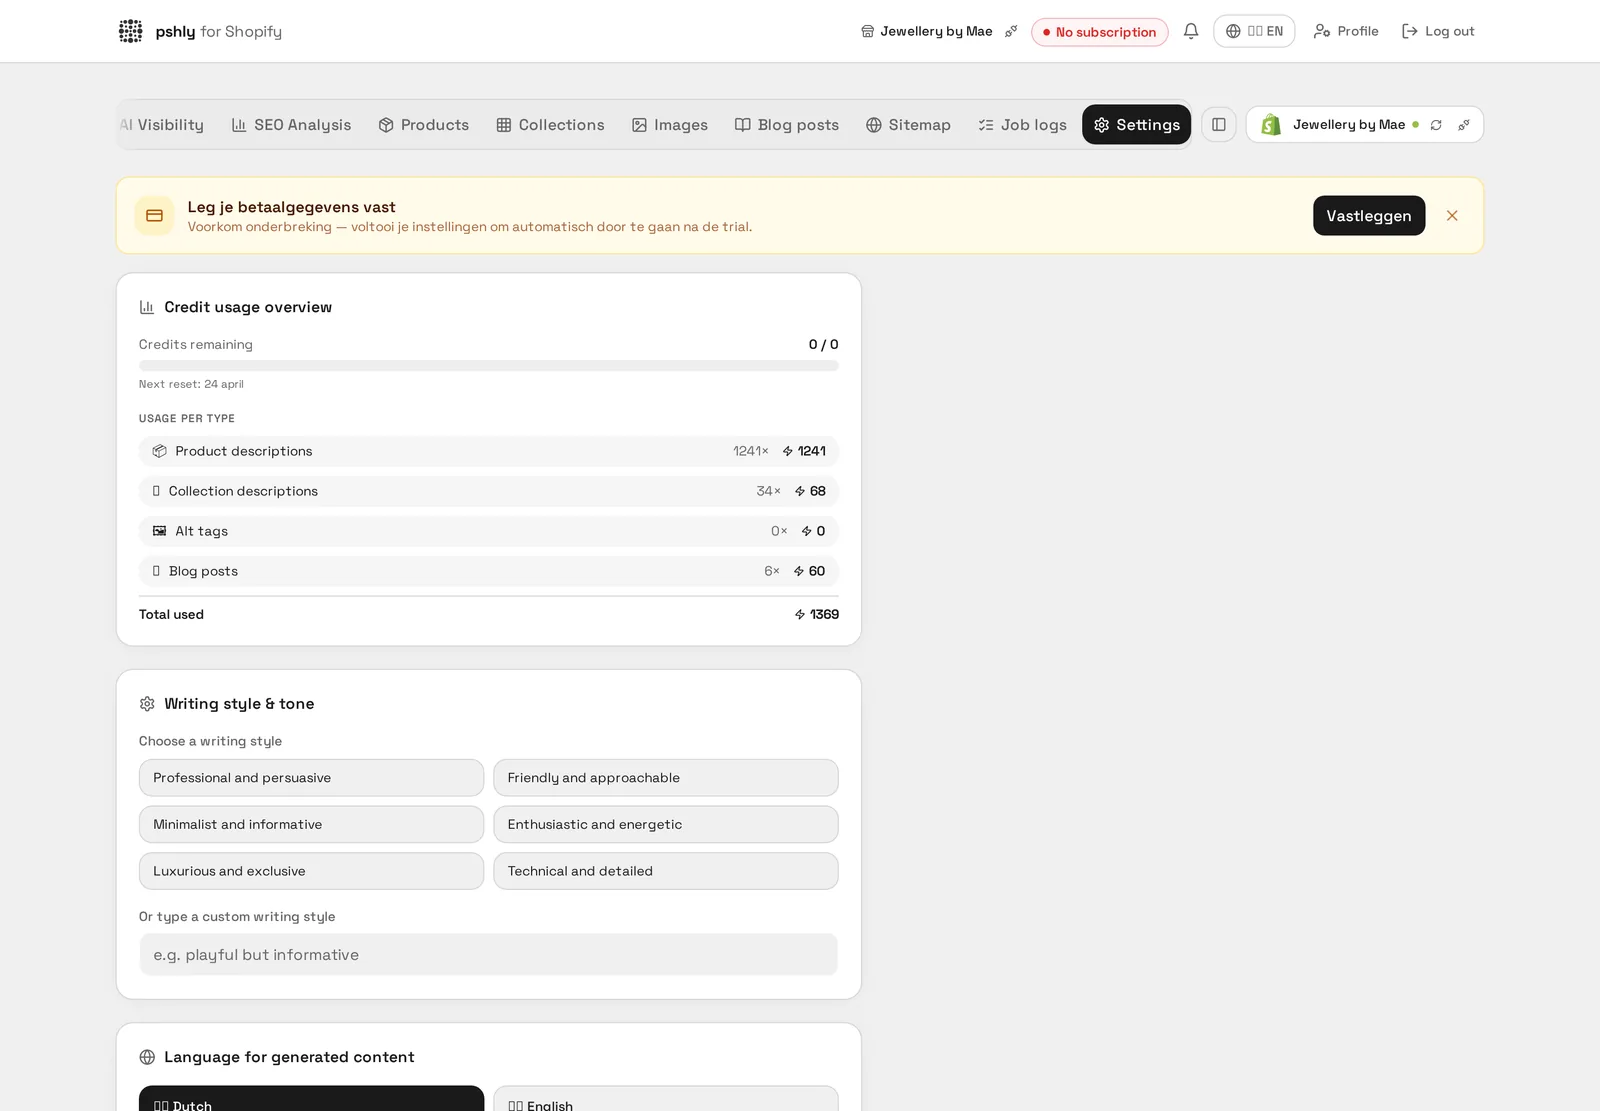
Create your account and go to Settings → Shopify. In your Shopify admin, create a Custom App (Apps → App and sales channel settings → Develop apps), grant the Admin API scopes for products, collections, files, themes and redirects, then paste the access token and your*.myshopify.comURL into Pshly. Use the installation guide if you get stuck.
Done when: the connection shows a green status and your store name. - Import products and collections
Click Import on the dashboard. Pshly pulls in titles, descriptions, tags, images, variants and metafields. Check that the product and collection counts match Shopify; run a Refresh if they don't.
Done when: the dashboard counters match your Shopify catalog. - Fill in your company information
Under Settings → Company, enter your company name, target audience, USPs, shipping and returns policy and your website domain. This information is included in every AI prompt, so the sharper it is here, the less you'll correct later.
Done when: all fields are filled in and the domain has no typos. - Set writing style and language
Under Settings → Content, choose the tone of voice, desired length, content language (per market if you use Shopify Markets) and fill in your do's and don'ts. Add filler words you never want to see (e.g. elegant, stylish, luxury) to the banned-words list; Pshly then strips them from titles and SEO titles automatically.
Done when: a test text sounds like your brand, without filler words. - Review SEO settings
Set the templates for SEO title and meta description, and decide whether Pshly may suggest internal links. This is also where you enable or disable URL handle optimisation: for active products, Pshly automatically creates a 301 redirect in Shopify when a handle changes, so you don't lose link equity.
Done when: you know which SEO fields Pshly overwrites and whether handles may change. - Metafields and category mapping
Under Settings → Metafields, define which metafields Pshly may read (material, size, colour) and write. Then review the category mappings so Shopify product types land on the right Pshly category — this drives the quality of collection and product suggestions.
Done when: the key product attributes show up in a test text. - Tune suggestion settings
Set the maximum number of matching products per product (default 2, configurable from 1 to 10). For collection suggestions, set the minimum score and maximum number of suggestions — a higher minimum score yields fewer but more reliable matches.
Done when: a test run returns suggestions you'd accept without editing. - Image settings
Choose the aspect ratio for AI lifestyle images (1:1, 4:3 or 16:9) and match it to your Shopify theme — a 1:1 image in a landscape theme gets cropped. Also set the desired image style and background.
Done when: a generated image displays correctly in your theme without cropping. - Set up exclusions
Products that are temporarily offline (seasonal, sold out) don't need optimising. Tag them in Shopify with pshly-skip (the tag name is configurable under Settings → Shopify), or exclude them manually in Pshly via More actions → Exclude from optimisation. Excluded products disappear from the work list, bulk jobs and review modals.
Done when: the 'Excluded only' filter shows exactly the products you wanted to skip. - Test run on 3 to 5 products
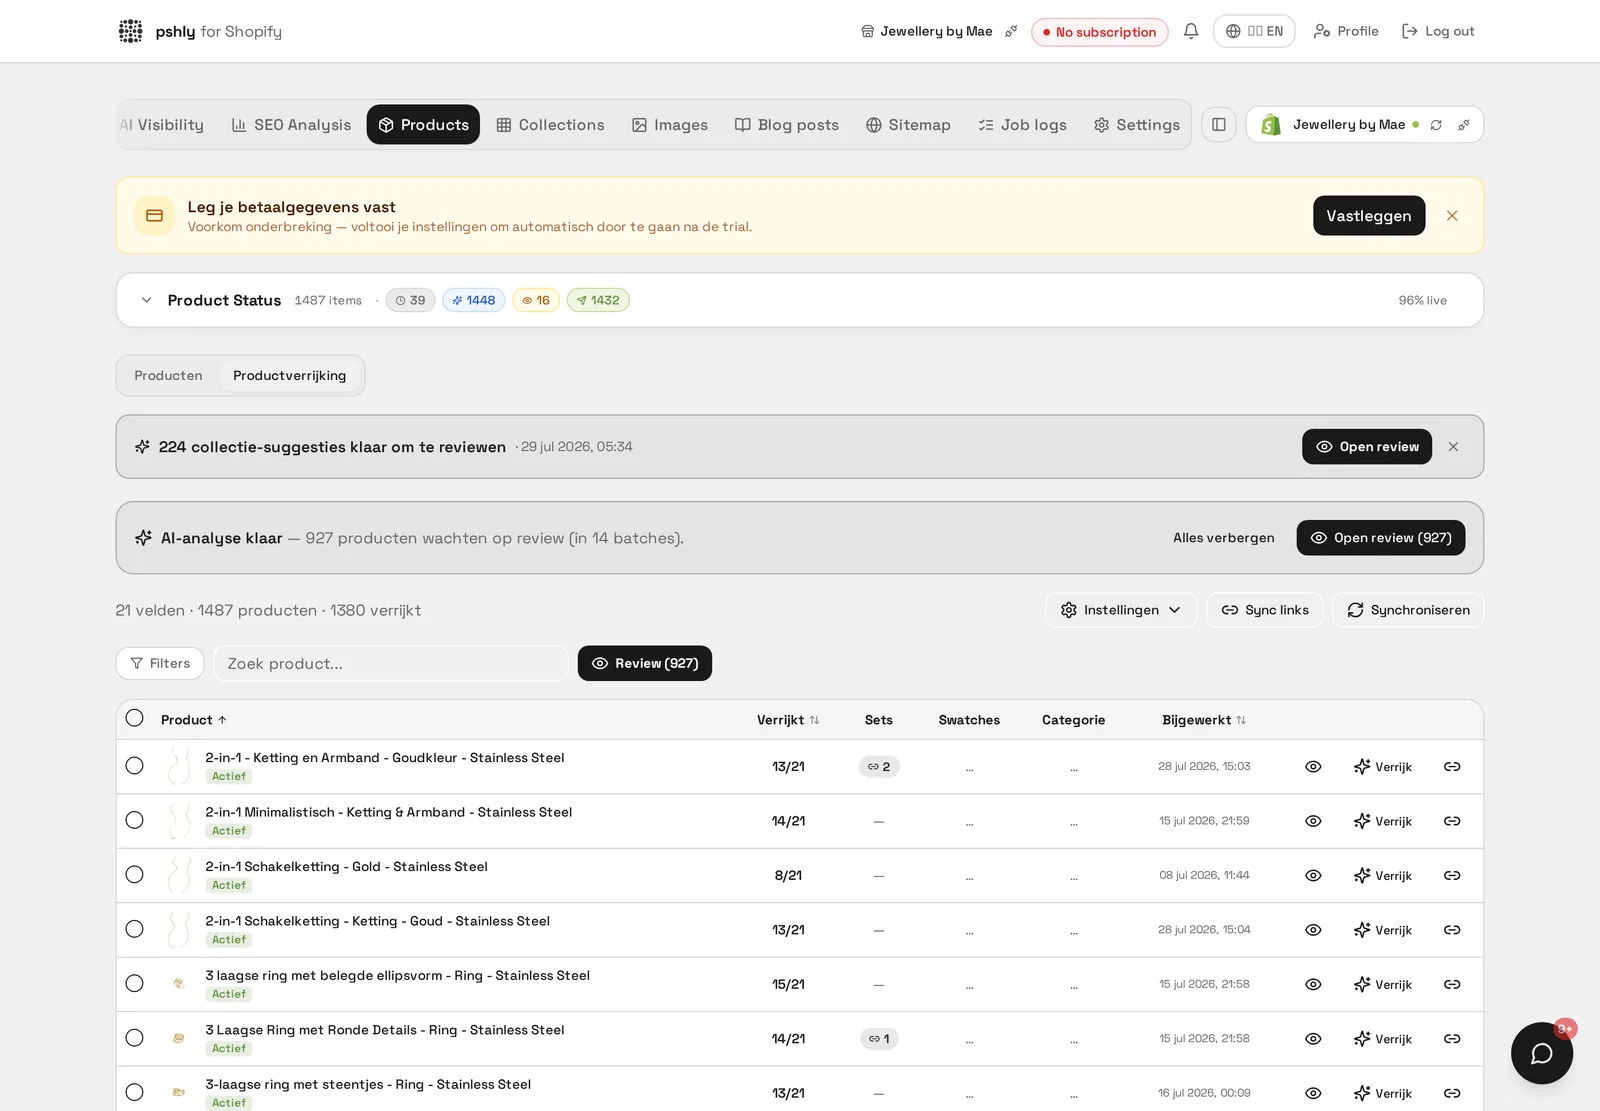
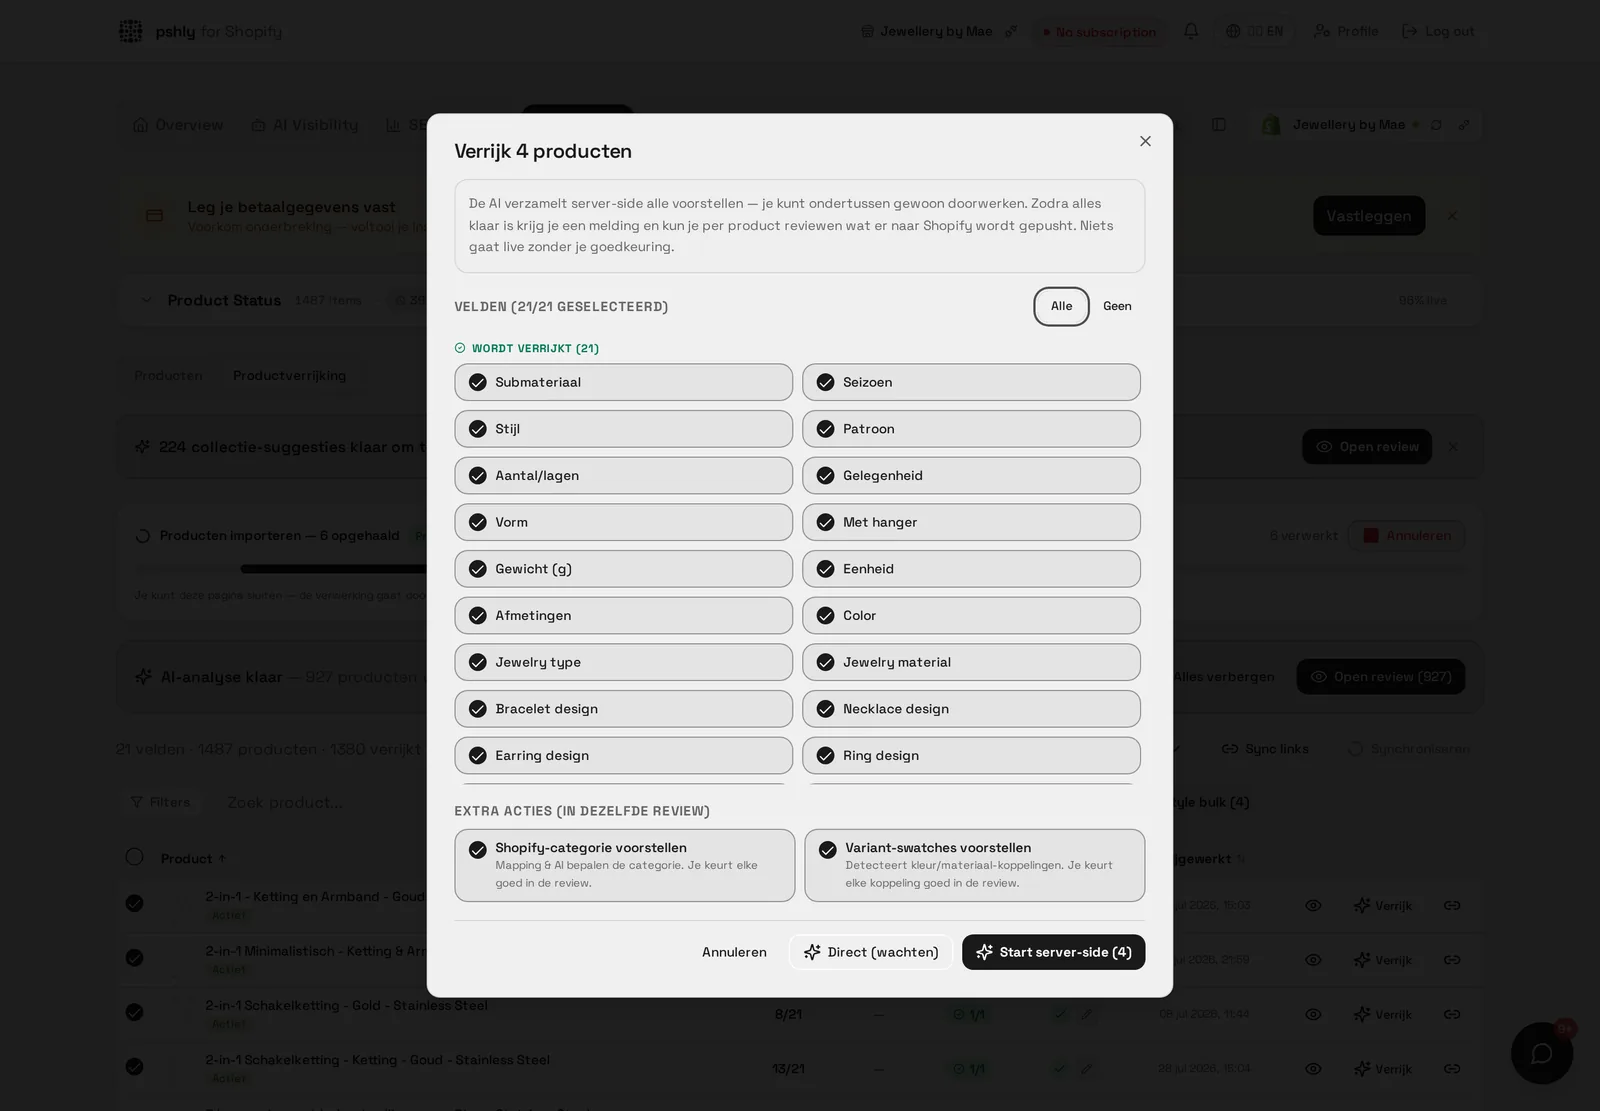
Select a handful of representative products and generate content. Review the result in the review modal: title, SEO title, meta description, body text and handle. If something is structurally off, adjust the settings (steps 3 to 5) instead of editing the text by hand.
Done when: you'd push all five texts to Shopify unchanged. - Start your first bulk run
Go to Product enrichment, filter down to the products you want to handle (for example active only, excluding skipped items), select them and start bulk content generation. The job runs server-side, so you can close the tab. Track progress via the realtime progress bar and the job log.
Done when: the progress bar reaches 100% and the job log shows no errors. - Review and push to Shopify
Open the bulk review modal, walk through the results and tick what may go live. Check titles, meta descriptions and changed URL handles in particular. Then push to Shopify in bulk; when setting products to Active, Pshly asks for an explicit confirmation.
Done when: the products show status 'Pushed' in Pshly and the texts are live in Shopify. - Next: monitor and expand
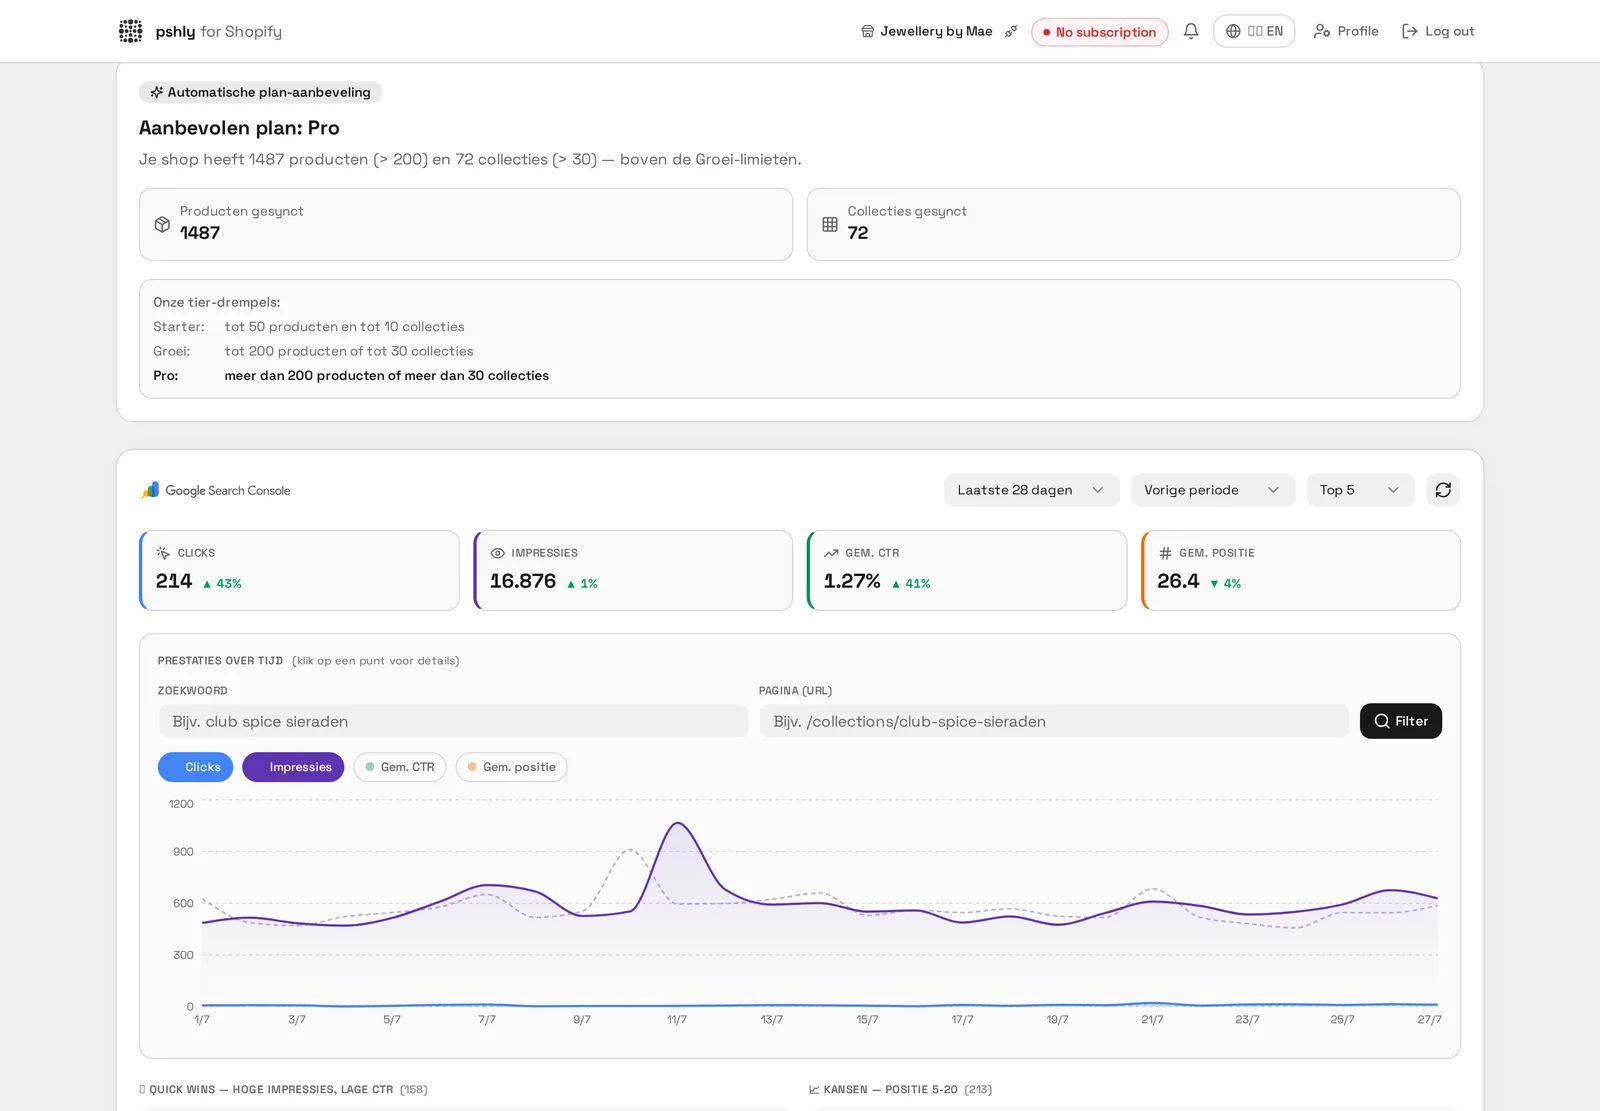
Connect Google Search Console for real search data, run the sitemap check, measure your AI visibility and keep an eye on credits and tier limits. Then schedule recurring runs for new products and collection texts.
Done when: GSC is connected and your first sitemap check is green.
Tip: don't skip steps 3 to 9. Every minute spent on settings saves dozens of manual corrections in the review modal.
Real-world example
From connection to live in 58 minutes. For G&F Verpakkingen, the team worked through the checklist on a Tuesday afternoon: connect the store, import 512 products, run the first bulk job on 4 shipping boxes and push to Shopify.
Ticking off each step kept it clear what still remained, and the first batch of 100 products went live that same week.